Tag: Sipko

  • How to choose your parkour shoes?

    How to choose your parkour shoes?

    Picking parkour shoes can feel hard. There are many styles and many words. But don’t worry! This guide will help you pick shoes that fit your feet and your moves. I will keep it simple, fun, and useful.

    Why shoe choice matters

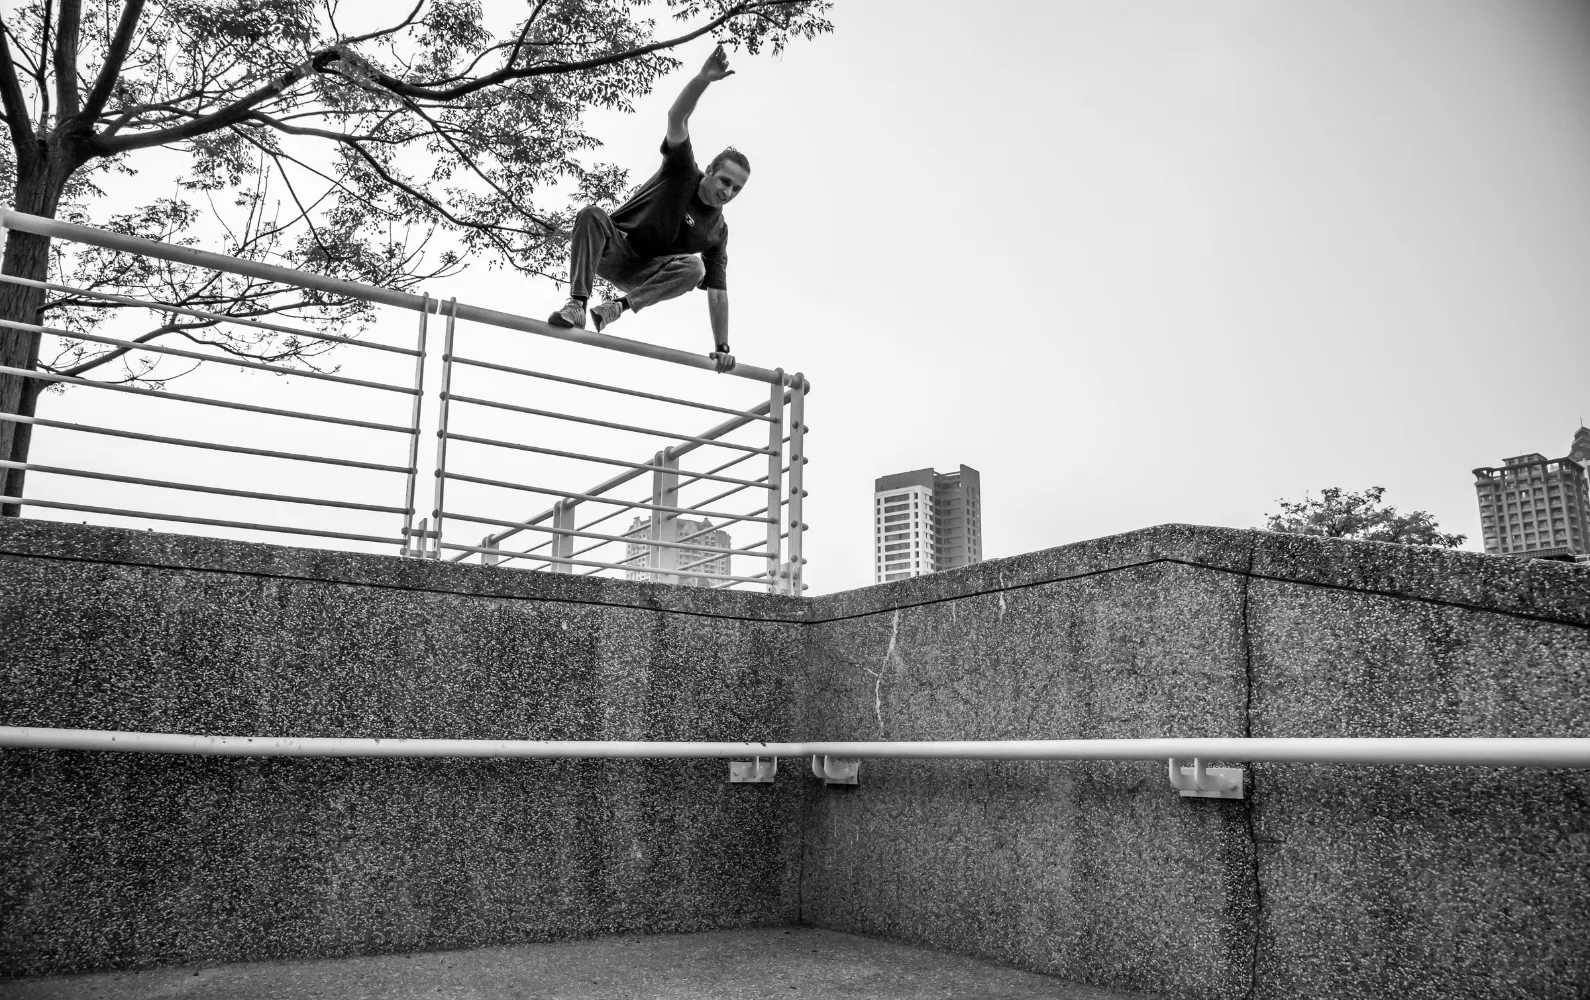
    Shoes help you breathe, stick, and land. The right shoe gives you grip, feel, and protection. But no shoe will do the training for you. Practice and smart training make you better.

    Three must-have features

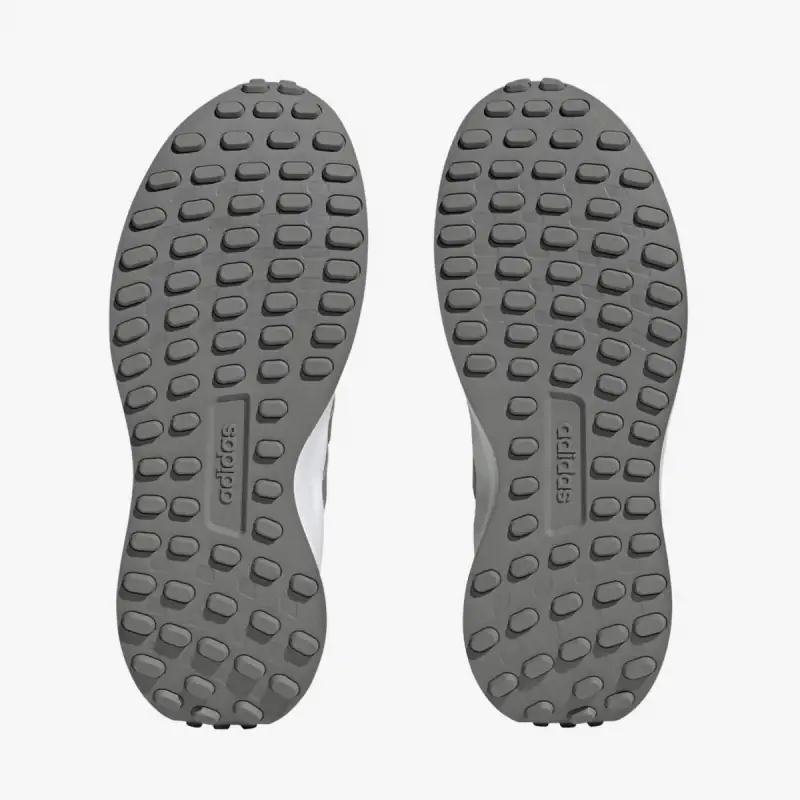
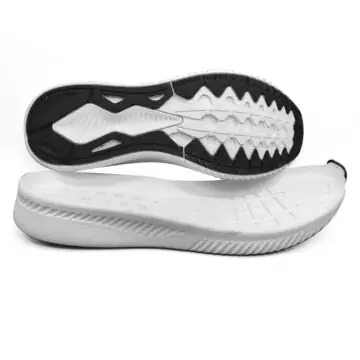
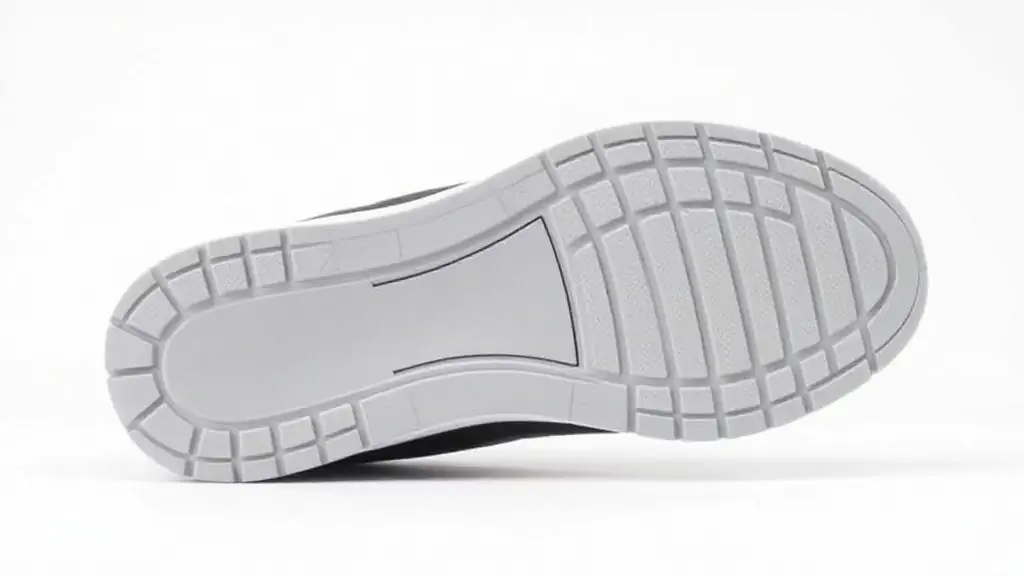
    • Grip: Good grip helps you land and stick the move. A single rubber outsole usually wears well and gives steady grip.
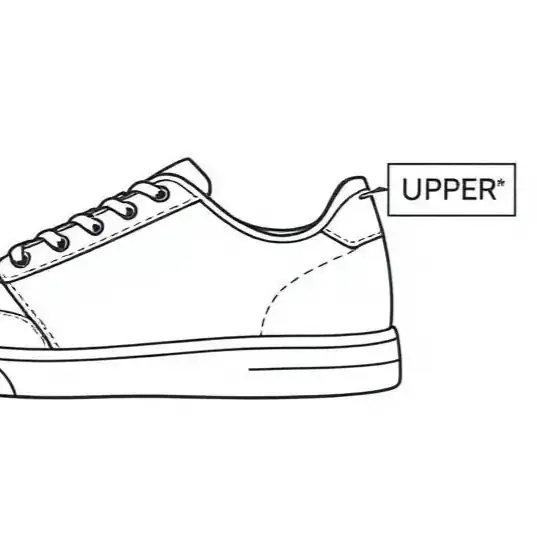
    • Durable upper: The top of the shoe should last. Tough materials can handle rails and ledges. But they might feel heavier and less airy.
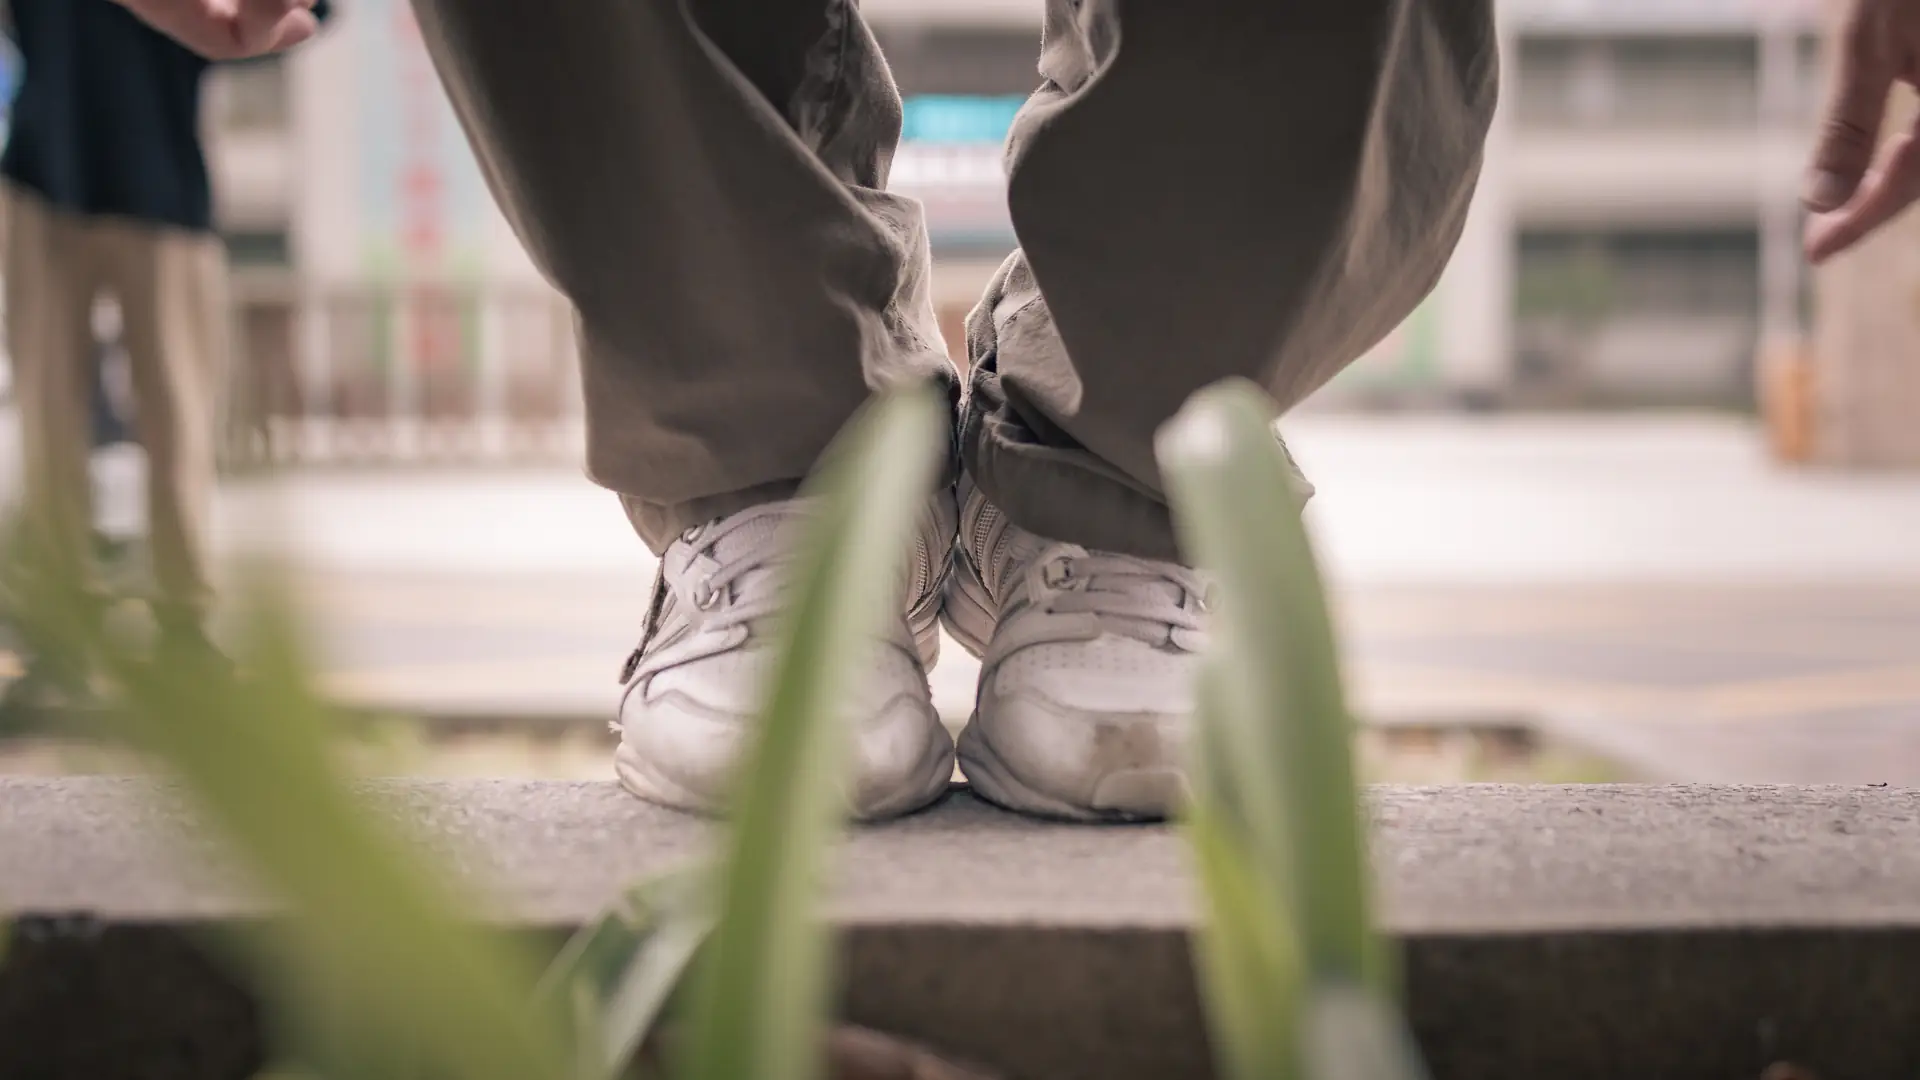
    • Fit: Shoes must match your feet. If they do not fit, you will feel slow or clumsy.

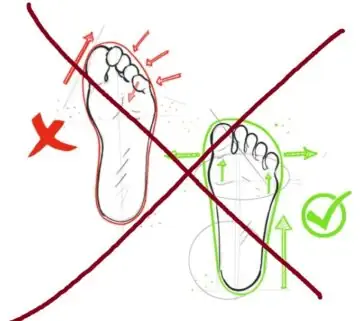
    Think about your foot mechanics

    People move in different ways. Two common types are overpronation and supination.

    • Overpronation: Your foot rolls in a lot. You might want a shoe with a bit more support.
    • Supination: Your foot rolls out. You may need a shoe with good cushioning on the outside.

    If you are not sure, try shoes in a store and see how your feet feel. Or try a gait test with a coach.

    Toe box size — don’t pick the wrong width

    The toe box is the front space for your toes. Some shoes have wide toe boxes. Some are narrow.

    • If your toes feel pinched, move to a larger size or a wider toe box.
    • If there is a lot of empty space, your foot can slide and you lose control.
    • A toe box that matches your foot helps balance and comfort.

    Padding thickness — feel vs. cushion

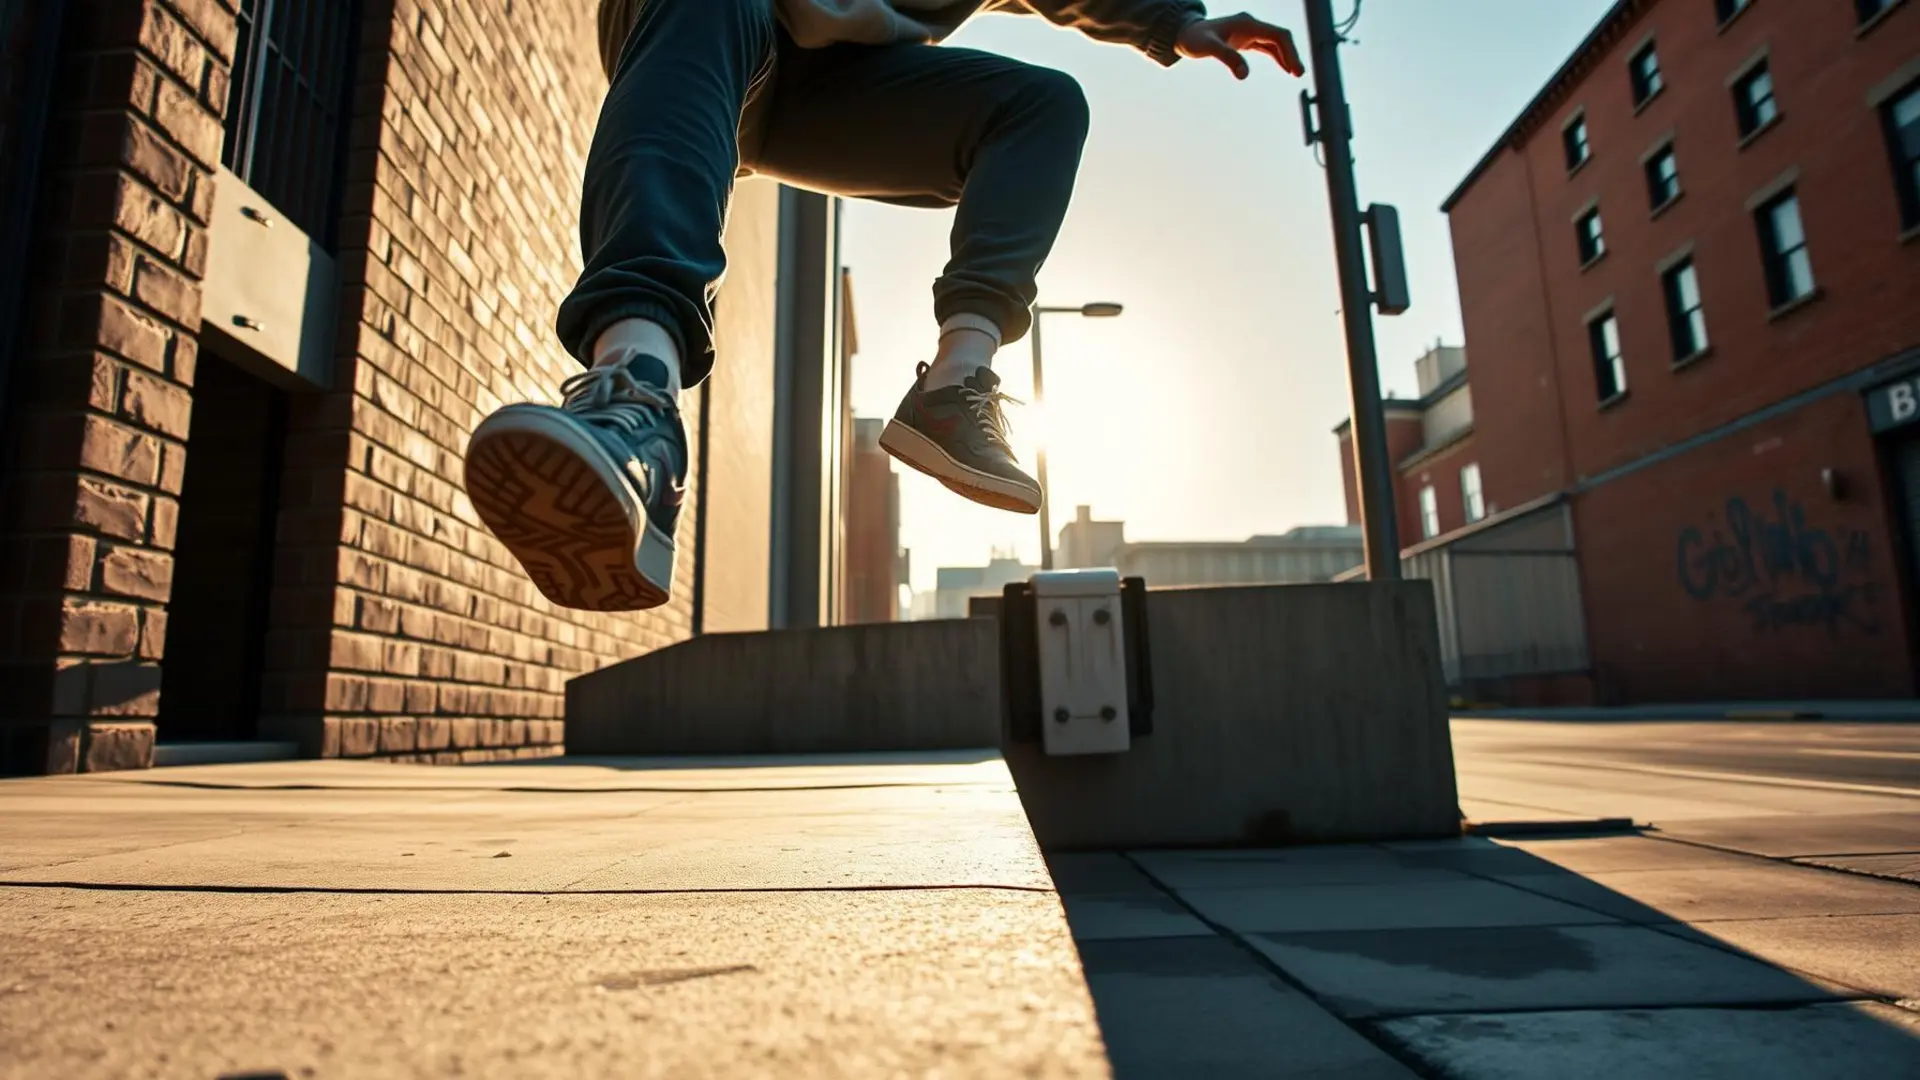
    Thinner soles let you feel the ground. That helps with precision. You can place your feet better during vaults and landings.

    Thicker soles give more shock absorption. They feel softer for big drops. But they lower your ground feel.

    Pick thin soles if you want better control. Pick thicker soles if you jump from high places often and want more cushion.

    Flexibility — move with your feet

    Flexible shoes bend with your foot. They give good feel and help toe movements. Many traceurs like flexible shoes for tricks that need finesse.

    Stiffer shoes can give more power for big moves. They can also help protect your foot from sharp edges. If you do heavy training, a slightly stiffer shoe may last longer.

    Heel drop — small lift or flat?

    Heel drop is the height difference between the heel and the toe of the shoe. It changes how your foot lands.

    • Slight heel drop: A small raise can help some moves like wall runs and cat passes. It can make pushing off feel easier.
    • Flat: Flat shoes give better balance and precision. They make it easier to place your foot on small edges.

    Try both types and see which feels right for your moves.

    Other helpful tips

    • Try shoes with the socks you normally wear for training.
    • Test shoes by jumping, rolling, and running on a few surfaces in the store.
    • Break shoes in slowly. Train light at first to let them shape to your foot.
    • Keep spare shoes or insoles if you like more cushion for long sessions.
    • Know that some shoes tear faster if you do a lot of urban training. Durable uppers and strong stitching last longer.

    Final thought

    Shoe features can help your training. They give grip, feel, and protection. But the shoe will not make you a better traceur by itself. Only steady practice, good coaching, and smart training will make you stronger and safer.

    Pick shoes that fit your feet and your style. Try them. Train in them. Have fun and keep moving!

    Wanna know my personal favorite shoes?

    Go and sign-up for our newsletter and we will be releasing my top 5 shoes for 2026 soon.

  • Flow Drills to Improve Your Parkour Style

    Flow Drills to Improve Your Parkour Style

    Flow Drills to Improve Your Parkour Style

    Want to move like water? Want your parkour to look smooth and fun? This guide has easy drills to help you connect moves more cleanly. The tips are simple. They are safe. They help your style grow fast.

    Why flow matters

    Flow means one move melts into the next. You keep speed, control, and style. Flow makes parkour look cool. It also keeps you safe. When you flow, you think less and feel more.

    Warm-up (don’t skip it!)

    A good warm-up wakes your body. It lowers chance of injury. Spend 8–15 minutes on this:

    • Light jog or jump rope (3–5 minutes).
    • Joint circles: ankles, knees, hips, shoulders, wrists (1 minute each).
    • Dynamic stretches: leg swings, arm swings, hip openers (5 minutes).
    • Easy rolls and soft landings to wake muscle memory (2–3 reps each).

    Drill 1 — Flow Line Walk

    Find a simple line of small obstacles. This can be curbs, benches, or boxes. The goal is to move along without stopping.

    • Step 1: Walk the line slowly. Pay attention to foot placement.
    • Step 2: Walk it faster. Use arms to balance.
    • Step 3: Add small hops or vaults. Keep the line steady.

    Repeat this drill for 5–10 minutes. Try different routes and turn types.

    Drill 2 — Tic-Tac to Vault

    Tic-tac helps you change direction and gain height. Try this simple combo:

    • Run to a wall or low obstacle.
    • Use one foot to push off (tic-tac).
    • Turn your body and step into a simple vault (safety vault or speed vault).
    • Land and continue running.

    Do this slowly at first. Focus on the push and the smooth step into the vault.

    Drill 3 — Roll to Run

    Rolling keeps your momentum and protects your body. This drill links a landing to a sprint.

    • Jump down or step off a small obstacle.
    • Land softly on both feet.
    • Turn the landing into a shoulder roll. Keep your chin tucked.
    • Pop up and sprint away.

    Practice the pop-up. The faster you rise after the roll, the better your flow.

    Drill 4 — Rhythm Ladder

    Use a hopscotch or draw a ladder with chalk. This drill builds timing and footwork.

    • Step through squares in a steady rhythm.
    • Change tempo: slow, normal, fast.
    • Add arm swings and small turns.

    Try to keep breathing calm. Rhythm helps you link bigger moves later.

    Drill 5 — Shadow Flow

    Shadow flow is like dance practice. Move slowly and feel each step.

    • Pick a simple sequence of 4 moves (run, vault, land, roll).
    • Do the sequence in slow motion.
    • Focus on arms, hips, and eyes.
    • Repeat faster each time.

    Slow practice makes fast practice cleaner.

    Drill 6 — Music and Metronome

    Music gives you a beat. A metronome is even better for timing.

    • Pick a song with a steady beat.
    • Match your steps to the beat.
    • Try a metronome set to 80–120 bpm for warm tempos.

    Use music only after you know the moves. Music improves rhythm and style.

    How to connect moves smoothly

    Here are simple tips to link moves like a pro:

    • Look ahead, not down. Your eyes guide your body.
    • Use your hips. Hips move the weight and make transitions easy.
    • Keep arms active. Arms help balance and add style.
    • Control speed. Sometimes slow is better than fast.
    • Breathe. Calm breathing keeps movement smooth.
    • Spot the landing. Know where you will land before you jump.
    • Use small steps. Tiny adjustments save big mistakes.

    Combine small drills into combos

    Start by linking two moves. Then add one more. Here are easy combos:

    • Run → Monkey Vault → Land → Roll
    • Lazy Vault → Safety Vault → Run Pre
    • Precision Jump → Quick Turn → Precision Jump Back

    Practice each combo 5–10 times. Make it smooth, not scary.

    Practice plan (sample session)

    This is an easy 60-minute plan you can use three times a week.

    • Warm-up: 10 minutes
    • Basics (footwork, rolls, vaults): 15 minutes
    • Flow line or ladder: 10 minutes
    • Combo practice: 15 minutes (work on 2–3 combos)
    • Cool down and stretch: 10 minutes

    Safety tips

    • Start low and slow. Build height and speed over time.
    • Wear good shoes. Grip matters.
    • Check surfaces for wet spots or gravel.
    • Use a spotter for new moves.
    • Rest when you are tired. Tired muscles make bad moves.

    Common mistakes

    • Looking down. Always look where you want to go.
    • Stiff arms. Keep them loose and ready.
    • Stopping between moves. Aim for a smooth link.
    • Rushing. Control is better than speed at first.

    Track your progress

    Film short clips of your sessions. Watch them and smile. See what looks clumsy. Fix one tiny thing each time. Ask a friend or coach for feedback.

    Fun ways to practice

    • Make a flow game with friends. Take turns adding moves.
    • Try themed sessions (climb flow, vault flow, jump flow).
    • Set small goals, like three clean combos in a row.

    Cool down

    Finish with light jogging and static stretches. Breathe deep. Say good job!

    Final thoughts

    Flow is a mix of skill, rhythm, and feel. Practice small drills every week. Be patient. Celebrate each smooth combo. Parkour should be fun. Move like water and smile!

  • What Is Parkour? A Beginner’s Guide to the Art of Movement

    What Is Parkour? A Beginner’s Guide to the Art of Movement

    Parkour is more than big jumps on rooftops. Parkour is a way to move. You use running, jumping, climbing, and vaulting to go from one place to another. The goal is to move fast and smart. You make your body do what it needs to do. You learn to read the place around you.

    Where Parkour Comes From

    Parkour started in France. It grew from exercises that help people move well and stay strong. Some people who helped shape parkour are David Belle and the group called the Yamakasi. They wanted to be able to move through the city in a smooth, strong way. Read more here about the history of parkour…

    Parkour uses ideas from training, play, and being ready for many things. The moves are meant to be useful. They help you get up, get over, and get through obstacles.

    Parkour vs Freerunning

    Parkour and freerunning look similar. But they have a different heart.

    • Parkour is about going from A to B the best way. It is simple and useful. The focus is on speed, flow, and getting through obstacles.
    • Freerunning adds flips and style. It is more about how things look. People use tricks and show creativity.

    Both are fun. Both help your body. Parkour is about use. Freerunning is about show. We do both and just say; “I’m doing Parkour”.

    How Parkour Helps You

    Parkour makes your body strong. It builds power in your legs and arms. It also helps your balance and timing. Your brain gets better at solving problems. You learn to plan your path and pick the best moves.

    Parkour also boosts confidence. When you clear a step or climb a wall, you feel proud. You learn to try, fail, and try again. That helps in school, work, and life.

    There is a big community of parkour people. They share tips, cheer each other on, and train together. You can meet friends who like the same things.

    Safety First

    Parkour can be safe if you are careful. Always put safety first.

    • Warm up well before you start. Run, stretch, and move your joints.
    • Start small. Learn easy moves before hard ones.
    • Practice on soft ground or mats at first. (if possible but not needed)
    • Learn how to land. Good landing saves your knees and back.
    • Learn the roll. A roll helps take away impact when you fall.
    • Train with a coach or a friend when you try new moves.

    Basic Moves for Beginners

    Here are some simple things to learn first. Practice them slowly and often.

    1. Precision Jump — Jump from one small spot to another. Aim for control, not distance.
    2. Landing — Bend your knees and use your hips. Land on the balls of your feet, then let your heels touch.
    3. Roll — Roll across your back to spread the force of a fall. Practice on grass or a mat.
    4. Vaults — Move over a rail or low wall. Start with a simple step-vault and learn more as you get brave.
    5. Climb and Pull — Learn to pull up on a ledge and get up safely. Use your legs as well as your arms.

    What You Need

    Parkour needs little gear. You mainly need good shoes and comfy clothes.

    • Wear shoes with good grip and cushion.
    • Use clothes that let you move well.
    • You can train at parks, playgrounds, gyms, or a parkour box gym.

    How to Start Training

    Here is a simple plan for your first few weeks.

    1. Find a safe park or a parkour class near you.
    2. Warm up for 10 minutes.
    3. Practice runs and simple jumps for 15 minutes.
    4. Try landing and rolling for 10 minutes.
    5. Finish with easy vaults and climbs for 10–15 minutes.
    6. Stretch and cool down.

    Keep it fun. Do this 2–3 times a week. Rest when you feel tired.

    Parkour Etiquette

    Be kind and smart when you train.

    • Respect places and people. Don’t damage property.
    • Ask permission if you train on private land.
    • Share space with others. Take turns and help others if they ask.
    • Keep places clean. Leave no trash behind.

    Progress and Goals

    Set small goals. Maybe aim to jump farther or to do a smooth roll. Track your wins. Little wins add up fast.

    As you get better, try new moves slowly. Train your strength and flexibility. Mix play with serious practice. That keeps your brain and body happy.

    The Joy of Movement

    Parkour is also play. It lets you explore cities and parks in a new way. You start to see places as a path, not just as objects. That brings a lot of fun.

    It can feel like dancing with the city. You move, you breathe, you find new lines to travel. That feeling of flow is what many people love.

    Where to Learn

    Look for local parkour groups or gyms. Many cities have coaches and lessons for kids and adults. Online videos can help too, but real coaching is best for safety and fast progress.

    Try It Today

    Want to try parkour? Start with a walk in the park. See steps, rails, and walls as small puzzles. Try a few safe hops and a roll on grass. Smile when you do it. Tell a friend to join. Learning with someone is more fun.

    Parkour is for everyone. You don’t need to be a superhero. You need curiosity, care, and a wish to move. Come and feel the freedom of movement. Your body will thank you, and you will find a new way to play.

  • How to Overcome Fear in Parkour: Mental Training Tips from a Coach

    How to Overcome Fear in Parkour: Mental Training Tips from a Coach

    Do you freeze before a jump? You are not alone.

    I used to be one of them.

    Many beginners in parkour feel scared. The good news: fear can be trained. With small steps and the right mind tricks, you can jump with more calm and more fun. These tips come from a coach’s view. They are simple and easy to try.

    Why we freeze

    Freezing is your brain trying to keep you safe. It stops you so you won’t fall. That can help, but it can also hold you back. The trick is to listen to your brain, but not let it stop you from learning. We will teach your brain that some jumps are safe and okay.

    Quick rules to help you now

    • Start small. Pick tiny goals.
    • Make a safe spot to practice.
    • Breathe before you jump.
    • Use a coach or friend for spotting.
    • Repeat. Small wins add up fast.

    Simple breathing and focus

    Breathing resets your brain. Try this easy trick before every attempt:

    • Breathe in for 4 seconds.
    • Hold for 2 seconds.
    • Breathe out for 4 seconds.

    Do this two or three times. Your body will calm down. Your legs will stop shaking. You will feel ready.

    Make a pre-jump checklist

    Use a short list to feel sure. Say it out loud or in your head:

    • Foot placement: where will my foot land?
    • Run-up: is my speed right?
    • Arms: I will swing my arms up.
    • Look: I will look where I land.
    • Plan: what to do if I miss.

    Checking these things helps the brain relax. It says: ‘I have a plan.’

    Three-step practice that works

    Use this step plan for any jump. Move up only when the step feels easy.

    1. Place and pretend: Stand where you will start. Move your feet and arms like you will jump. Do this 5 times. No jump yet.
    2. Small try: Step off or do a tiny hop to the landing zone. Use mats or grass if you can. Do five easy tries.
    3. Real jump: Do the full jump. If you feel stuck, return to step 2 and repeat. Celebrate small wins.

    Use progress markers

    Mark small wins. These help your mind learn fast. For example:

    • Week 1: only practice the run-up and landing stance.
    • Week 2: do short hops to the landing.
    • Week 3: do the full jump with a spotter.

    Keep notes. Write down how each attempt felt. This shows your progress and builds courage.

    Visualize the jump

    Close your eyes and see the jump go well. Picture your feet, arms and landing. Do this before sleep or before training. The brain learns from pictures. If you see success, your body practices the move too.

    Talk to your fear

    Say simple phrases like “I can do this” or “Small steps.” Use a short cue word before you move, for example “Go!” The cue helps push your body to act. Keep your words kind. Don’t shout at yourself.

    Practice falling safely

    One big reason people freeze is fear of falling. Learn how to fall. Roll on mats. Practice soft landings. When you know how to protect yourself, fear gets smaller.

    Work with a coach or friend

    A coach can spot you. A friend can hold a pad or cheer loud. A good coach will break the jump into tiny parts. They will set a clear step for you to try next. If you freeze, talk about it. Coaches know how to help.

    Routine and warm-up

    Build a simple routine before every session. Your routine can be 5–8 minutes. It tells your brain: training time. A strong routine might include:

    • Light jog or movement
    • Dynamic stretches (leg swings, arm circles)
    • One breathing cycle
    • Three small drills that feel easy

    What to do on a bad day

    Some days you feel stuck. That is normal. If you are scared, do this:

    • Stop and breathe.
    • Do very small moves.
    • Try again later or on another day.
    • Talk to your coach and change the plan.

    It is okay to rest. Rest helps you come back stronger.

    Short training plan (4 sessions)

    Try this plan. It is for beginners who freeze. Use mats and a coach if you can.

    • Session 1: Learn the run-up and landing stance. Do breathing and pretend moves.
    • Session 2: Add tiny hops and step-offs. Practice falling on a mat.
    • Session 3: Try full jump with a spotter or pad. Keep it small and repeat.
    • Session 4: Repeat full jump and focus on smooth landings. Record or note progress.

    Move to harder jumps only when you feel 80% sure. If you feel doubt, slow down.

    Keep the fun in parkour

    Remember why you started. Parkour is play and flow. Laugh at mistakes. Share wins with friends. The more fun you have, the faster fear fades.

    When to get extra help

    If fear feels too big and stops you from living, talk to someone who knows mental training. A coach, teacher, or counselor can help. It is brave to ask for help.

    Final pep talk

    Fear is normal. It is part of learning. Use small steps, breathe, and practice the same moves often. Mark your tiny wins. Trust your coach and your body. Soon, those jumps will feel easier and even fun. Go try one small step today!

  • Sipko’s Top 5 Classic Parkour Videos to Get Inspired to Train

    Sipko’s Top 5 Classic Parkour Videos to Get Inspired to Train

    These are five parkour videos I go back to again and again. They are over ten years old, but they still fire me up. Save them to your phone or playlist. Watch them before your training. They will get you hyped, focused, and full of ideas.

    How to use this list

    Watch like a fan. Watch like a student. First, enjoy the view and the music. Then watch again to spot moves and lines. Try one new thing at your next session. Keep it safe and have fun.

    1. “You Are Your Own War” — GUP

    This is a real classic. The video has strong energy. The athletes move with power and style. The clips show flow and big ideas. It is a good mix of street lines and smooth moves.

    Watch You Are Your Own War

    • What to look for: timing, arm use, and how they link moves together.
    • Why it inspires: it shows how small steps add up to big runs.
    • Drills to try: practice short link-ups of two or three moves. Work on the run up and the landing.

    2. “Pumping Blood” — Team Unity

    This one has heart. The style is bold and full of life. The edits and music make it feel like a movie. You can see creative tricks and clean technique.

    Watch Pumping Blood

    • What to look for: flow between obstacles and sharp landings.
    • Why it inspires: it shows how to make simple moves look amazing.
    • Drills to try: practice precision jumps and quick turnovers. Make your landings tight and quiet.

    3. “The City” — Team Farang

    Team Farang brings a raw city vibe. The runs are fast and playful. There are clever lines through urban places. This video teaches you how to use the city as a playground.

    Watch The City

    • What to look for: creative lines and quick choices.
    • Why it inspires: it shows how to turn any place into training ground.
    • Drills to try: find a street corner or small park. Make three moves in a row with speed and control.

    4. “Dreams” — AMPISOUNDS

    Dreams has a smooth, artistic feel. The editing and shots are calm but strong. The athletes show good flow and clean technique. It feels like watching poetry in motion.

    Watch Dreams

    • What to look for: rhythm, balance, and the quiet power in small moves.
    • Why it inspires: it reminds you that parkour is also about style and calm control.
    • Drills to try: slow motion practice of vaults and balances. Focus on breath and stance.

    5. “CAVEMEN 1” — Storror

    Really can’t leave out a classic of Storror. This video mixes big stunts and fast flow. The team has energy and bold moves. It feels like a big adventure.

    Watch CAVEMEN 1

    • What to look for: brave moves and team sync.
    • Why it inspires: it shows what you can do when you push your limits—safely.
    • Drills to try: work on momentum, take small steps toward bigger moves, and train the basics that make big moves safe.

    Simple tips before you press play

    • Warm up first. Watch then move. Your body must be ready.
    • Pick one detail to learn. Do not try to copy everything at once.
    • Slow the video if you need to. Look at how they place their feet and hands.
    • Save the video in a playlist called “Pre-training Hype” or “Classics”.

    Make a plan

    Choose one move or line from a video. Break it down into small parts. Practice each part. Link them slowly. Repeat until it feels smooth. Then add speed. This is how classics turn into new skills.

    Final words

    These five films shaped how many of us think about parkour. They are old, but they still teach and excite. Save them now. Watch them before your next session. Get hyped, stay safe, and enjoy training.

    Train hard. Have fun.

  • Explore Parkour and meet Coach Sipko; a professional parkour coach in Taiwan

    Explore Parkour and meet Coach Sipko; a professional parkour coach in Taiwan

    Welcome to the world of parkour! Are you ready to unlock your Full Potential?

    I’m thrilled to introduce myself Sipko Dijkstra, an experienced parkour coach with over 15 years of experience in parkour, movement, and athletic skill development. My coaching centers around safe practices, personal growth, and building condence in every student. Whether you’re a complete beginner or an advanced parkour practitioner, I will guide you through an empowering journey, showing you how to move with skill, agility, and freedom.

    Why choose me as your parkour coach?

    1. Years of Experience and Knowledge

    With a strong background in sports coaching, I have trained and inspired countless students to push past their limits, develop new skills, and embrace the freedom of movement. My coaching style is motivational, disciplined, and tailored to ensure you feel encouraged, engaged, and constantly improving

    2. Personalized Training for Every Level

    I tailor each session to fit your unique needs and goals. From learning the basics to mastering advanced parkour moves, every class is designed to challenge and uplift you. Every student feels seen, supported, and motivated to grow at their own pace.

    2. An inviting, Community Atmosphere

    Joining my classes means becoming part of a supportive, passionate community that shares a love for parkour. Here, training isn’t just about mastering moves; it’s about building resilience, embracing challenges, and enjoying movement together.

    What will you learn?

    In my parkour classes, learning goes beyond just movement! It’s about building a solid foundation, achieving new heights, and adopting a mindset that helps you tackle challenges in both parkour and life. Each session is carefully designed to equip you with essential skills while fostering growth in a safe, supportive environment. With my guidance, you’ll master key techniques, develop mental resilience, and learn to move with confidence and control.

    In my Parkour Classes, you will develop:

    Foundational Techniques

    Start with basics like landing, vaulting, and rolling, ensuring safety and control from day one.

    Advanced Movements

    Progress into jumps, combos, and more advanced skills as you gain confidence.

    Mindsets & Motivation

    Build resilience, confidence, and a strong mental focus, essential for parkour and life.

    Safety-First Approach

    Every session emphasizes safe practices and injury prevention, so you can train with confidence.

    What are you waiting for?

    If you’re in Taichung or nearby, now is the time to start your parkour journey with at Flow Legends! My classes are designed for especially for adults with all skill levels, helping you make a positive change through movement and personal growth. Start your adventure today!

    You already read this blog so you are definitely ready to give it a try.